Arc Raiders Hullcracker Guide: Is It Still Worth Using After the Nerf?
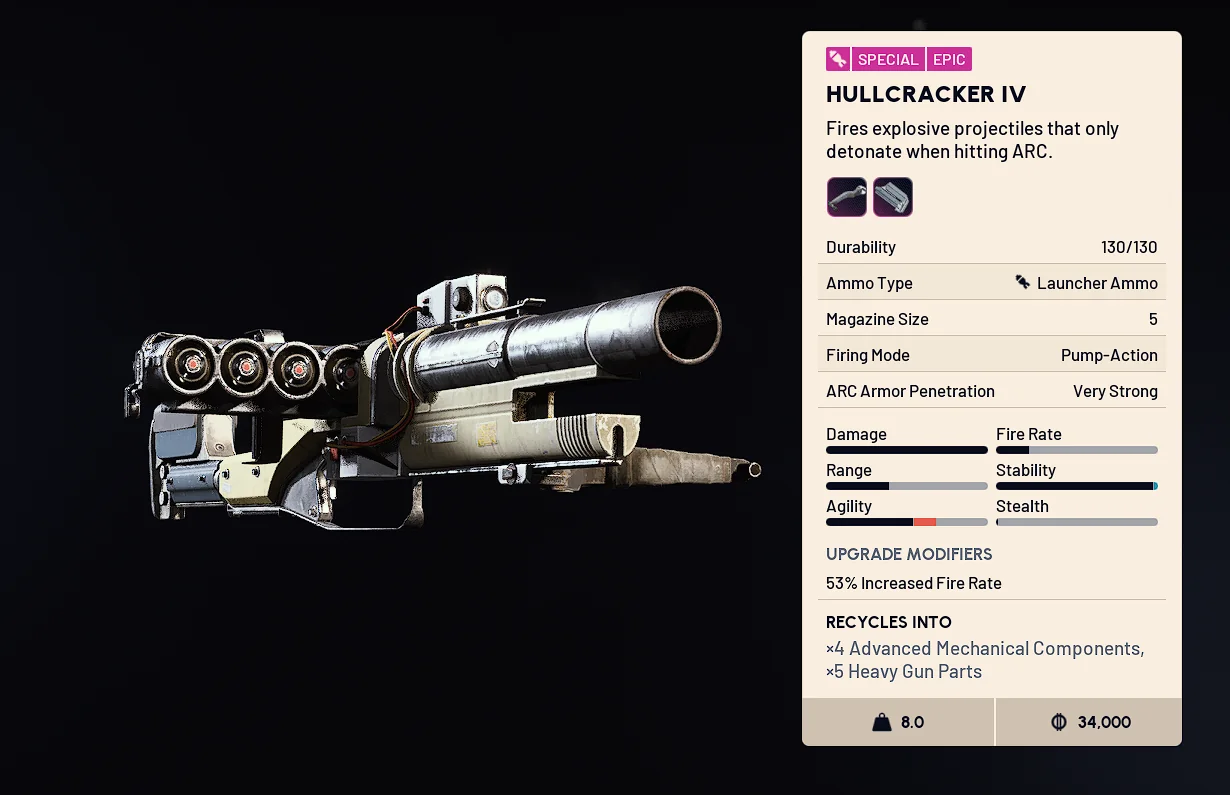 — Hullcracker —
Credit: u/Imn1che via Reddit (r/ArcRaiders)
— Hullcracker —
Credit: u/Imn1che via Reddit (r/ArcRaiders)
The Hullcracker was nerfed, the community largely wrote it off, and most players moved on. But here's the thing — they moved on too fast. After spending serious time with this launcher post-nerf, the Hullcracker is not only still viable, it might actually be the most consistent, cost-efficient, and accessible anti-Arc tool in the entire game. This guide breaks down everything you need to know: cost, performance against every Arc type, weaknesses, and tips to get the most out of every shot.
Why the Hullcracker Deserves a Second Look
When most players think about killing large Arc like Bastions and Bombardiers, they immediately reach for the Deadline. It's been the go-to choice for multiple expeditions and it does the job. But after putting the Hullcracker through its paces, there are three key areas where it genuinely outperforms other options — and once you see them laid out, it's hard to argue against giving this launcher another chance.
Those three areas are cost, accessibility, and ease of use. Let's start with what most people assume is the Hullcracker's biggest weakness.
How Much Does the Hullcracker Actually Cost?
This is where most players get it wrong. The assumption is that launcher ammo is expensive and wasteful — but the numbers tell a different story.
On average, it takes around 10 shots to take down Bombardiers, Bastions, and Rocketeers with the Hullcracker. Since launcher ammo is crafted in batches of six, that works out to roughly:
- 4 Crude Explosives
- 2 Arc Motion Cores
Per Arc kill. Compare that to the full ingredient list needed to run the Deadline for the same Arc, and the Hullcracker comes out significantly cheaper per kill. That's a meaningful difference when you're farming multiple large Arc per run.
There's also the weapon itself to consider. Crafting a Hullcracker requires:
- 3 Heavy Gun Parts
- 1 Magnetic Accelerator
- 1 Exodus Module
Two of those components — the Magnetic Accelerator and Exodus Module — can be found reliably at the Rocket Assembly at Spaceport without fail, making it far easier to source than many comparable weapons.
The Level One Advantage
One of the most underrated aspects of the Hullcracker is that it performs effectively at level one with no attachments. You don't need to sink resources into upgrading it or finding attachment drops before it becomes useful. This makes it cheaper to run overall compared to alternatives like upgraded Renegades, Volcanoes, or Patas — all of which require meaningful investment before they reach their potential.
And critically, the resources you spend on ammo are only lost if you die and can't extract. Successfully pulling an extraction means your Hullcracker comes home with you, ready for the next run. For cost-conscious players, that risk profile is much more manageable than single-use consumables.
The Most Accessible Anti-Arc Weapon in the Game
Here's something that doesn't get mentioned enough: the Hullcracker blueprint is a guaranteed quest reward. You don't need to hunt for it in loot drops, gamble on blueprint spawns, or buy it from other players.
If you're grinding quests for Tonwin, the Hullcracker blueprint drops along the way as a confirmed reward — and as a bonus, you'll also unlock the Brleta on that same quest path. That makes it one of the most reliable weapons to work toward for newer players or anyone starting fresh after an expedition wipe.
For players who don't yet have blueprints for the Deadline, Wolfpack, or other popular Arc-killing tools, the Hullcracker is a genuinely excellent option to pursue while progressing through the quest line.
Hullcracker Performance: Every Arc Type Covered
Let's get into the practical side. Here's exactly how the Hullcracker performs against every Arc type in the game, from smallest to largest.
Small Arc: One-Shot Potential
The Hullcracker is capable of one-shotting several smaller Arc enemies — but placement matters. Hitting different armour plates on the same enemy can result in dramatically different damage values, so aim consistency is key.
Arc that can be one-shot with correct placement:
- Wasp — One-shot, no conditions
- Snitch — One-shot if you hit one of its rotors
- Sentinel — One-shot if you avoid hitting its canister
- Fireball — One-shot anywhere
- Comet — One-shot if you aim down the middle
- Hornet — Can be one-shot by hitting the thruster or the small mid-section on its side
Firefly — Weak to explosives. Takes two shots aimed centre of mass to take down. If you hit armoured side panels, it'll survive the second shot — so aim where your first shot connected to maximise consistency.
For Arc with partial armour like the Firefly and Comet, hitting an armoured area first doesn't mean the kill is lost. A couple of follow-up shots from any secondary weapon will finish the job quickly.
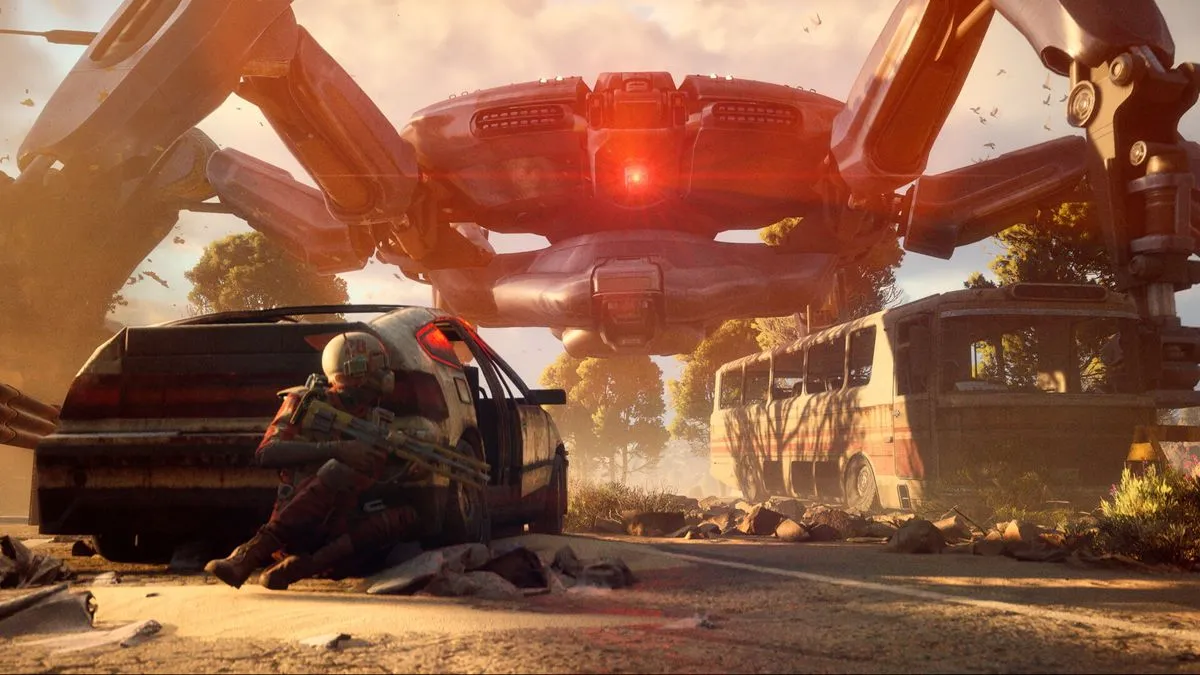
The Bastion
Against the Bastion, expect around 10 shots to complete the kill when targeting the right areas. The top-centre of the Bastion is your primary aim point. The front sides and the plates surrounding its machine gun are armoured — hitting those will increase the shot count noticeably.
Tips for fighting the Bastion:
- Get high ground and cover where possible to improve your angle on the unarmoured top-centre
- If high ground isn't available, jump before shooting — the Hullcracker has solid hipfire, and the slight angle shift can help you clear the front armour
- Monitor your XP feedback to gauge shot quality. Shots hitting unarmoured areas should reward around 400–600 XP. Anything less likely means you're clipping armour
Alternative method: Taking out one of the Bastion's legs and then repositioning to its backside can save ammo and speed up the kill. This approach is riskier and takes practice to execute cleanly, but it is a legitimate faster kill if you can pull it off.
The Bombardier
The Bombardier doesn't have the same heavy armour as the Bastion, but shooting it straight down the middle can actually result in the kill taking slightly more than 10 shots due to how its hitboxes are structured. Aim slightly off-centre or target its base for better damage consistency.
Tips for fighting the Bombardier:
- Either get very close to bait out its explosion shockwaves, or stand well back and dodge each rocket shot while returning fire — fighting from cover tends to result in taking hits
- If you manage to take out a leg first, you can rush the backside and finish it with fewer shots and in less time — same principle as the Bastion leg trick
- If the Bombardier's shockwave goes off while you're nearby, placing any object between yourself and it will block the blast regardless of how close you are. Just be cautious of walls behind you that could cause splash damage
The Rocketeer
The Hullcracker can handle the Rocketeer, but it's one of the less clean matchups. Shooting centre mass is the most reliable approach — going for the thrusters is theoretically more efficient at around 6 shots, but the Rocketeer's movement patterns when it locks onto you make thruster shots inconsistent at best.
Expect 8–10 shots aiming centre mass. It works, but if you have other options for Rocketeer specifically, they may serve you better.
The Leaper
The Leaper is probably the worst matchup for the Hullcracker in the entire game. It technically only takes 6–7 shots to kill — which sounds fine — but the Leaper's erratic, constantly shifting movement means missed shots and leg hits (which deal significantly less damage than body hits) will drag that number up considerably.
The recommended approach: lure the Leaper to a doorway, which forces it to stop moving temporarily and gives you a clean window to land body shots consistently. If you're specifically farming Leapers, switching to a heavy ammo weapon will serve you much better. The Hullcracker and Leapers are not a good pairing in open space.
The Shredder
Fast and aggressive but surprisingly fragile to the Hullcracker. Two shots aimed at the face, or one shot to a specific weak point on its body, is all it takes. You can finish off any remaining health with a regular weapon after the first Hullcracker hit if needed.
The Queen & Matriarch
 — Matriarch —
Approximately four shots is the benchmark here, though accuracy and target placement will affect that figure. Given how valuable Queen and Matriarch kills are for loot and progression, the Hullcracker's efficiency against them is one of its strongest selling points.
The Vaporizer (New Arc)
The newest Arc type in the game. Based on testing, the Vaporizer takes around 10–12 shots to kill with the Hullcracker, landing closer to 12 in most engagements due to how frequently they move. It works, but expect to use a full batch of ammo-plus on each one.
The Surveyor
Save your ammo. The Surveyor absorbs damage like a Bastion but without the same payoff, and the Hullcracker is a poor match for it. If you encounter a Surveyor, use other methods.
Downsides of the Hullcracker
No weapon guide would be complete without an honest look at the weaknesses.
It cannot be used effectively in PvP. The Hullcracker deals very little damage to other Raiders and isn't a viable option for player combat. Don't take it into a fight expecting it to save you — it won't.
It's a heavy weapon. Carrying the Hullcracker will eat into your carry capacity. However, equipping the Loaded Arms perk reduces its weight to approximately 4 kg — roughly comparable to a Brleta — which makes it much more manageable within a loadout.
Recommended loadout pairing: Hullcracker plus a Brleta. This gives you everything you need to hunt large Arc effectively while still having a capable sidearm for personal defence against both Arc and other Raiders.
The Bottom Line: Is the Hullcracker Worth Using in Arc Raiders?
Yes. Unambiguously yes — at least for players focused on Arc farming, XP grinding, or working toward raider progression.
The Hullcracker delivers consistent, efficient large-Arc kills at a lower cost than most comparable tools, works at level one without attachments, is one of the easiest anti-Arc weapons to obtain through questing, and one-shots a solid variety of smaller Arc that you can farm for ammo materials in the process.
It has real weaknesses — the Leaper matchup, the weight, the PvP uselessness — but for its intended purpose of hunting large Arc and accelerating raider progression, it remains one of the best tools available in Arc Raiders even after the nerf. Don't let the community memes steer you away from it. Pick one up, run it for a few expeditions, and judge it for yourself.
Looking for more Arc Raiders guides? Check out our breakdowns of the best looting locations, top weapon recommendations, and blueprint farming strategies.